This was one of my bigger projects over the summer and also probably the most useful thing I have ever made. The inspiration behind this was a book cover really as I wanted a case which I could still use whilst reading from my nook. As you can see I used Marvel Comic book print material which I adore! I bought it from Ebay for about £4.00 including delivery I think. The Cardboard I used came from the back of a pad of paper and the rest of the materials from my local craft store.
The measurements I used are below but these were for a nook so they will have to be changed for a kindle or other ereader. I also tended to do it more by eye then measuring which usually does lead to problems but I like to be difficult ;)
Material-37 x 22.5cm
Wadding-18.5x 32.1cm
Foam sheet-A4 sized
'Spine' size-2.5 cm
Cardboard (2 lots of)- 12.7x16.5cm
You'll need-
Wadding
Thick cardboard
Material
Hot glue
Craft knife
Thin Foam sheet
Elastic
Method-
Cut the cardboard to size
Draw onto the wadding how big you want it, the 'spine' and where you want the cardboard positioned (which will act as the front and back cover).
Glue the cardboard to the wadding, leaving a margin between the cardboard.
There it is with the two pieces glued down.
Then cut out the wadding and material to size.
Fold and glue down the excess material.
Then cut a piece of foam to fit the middle and wrap material round it. Glue this to the centre.
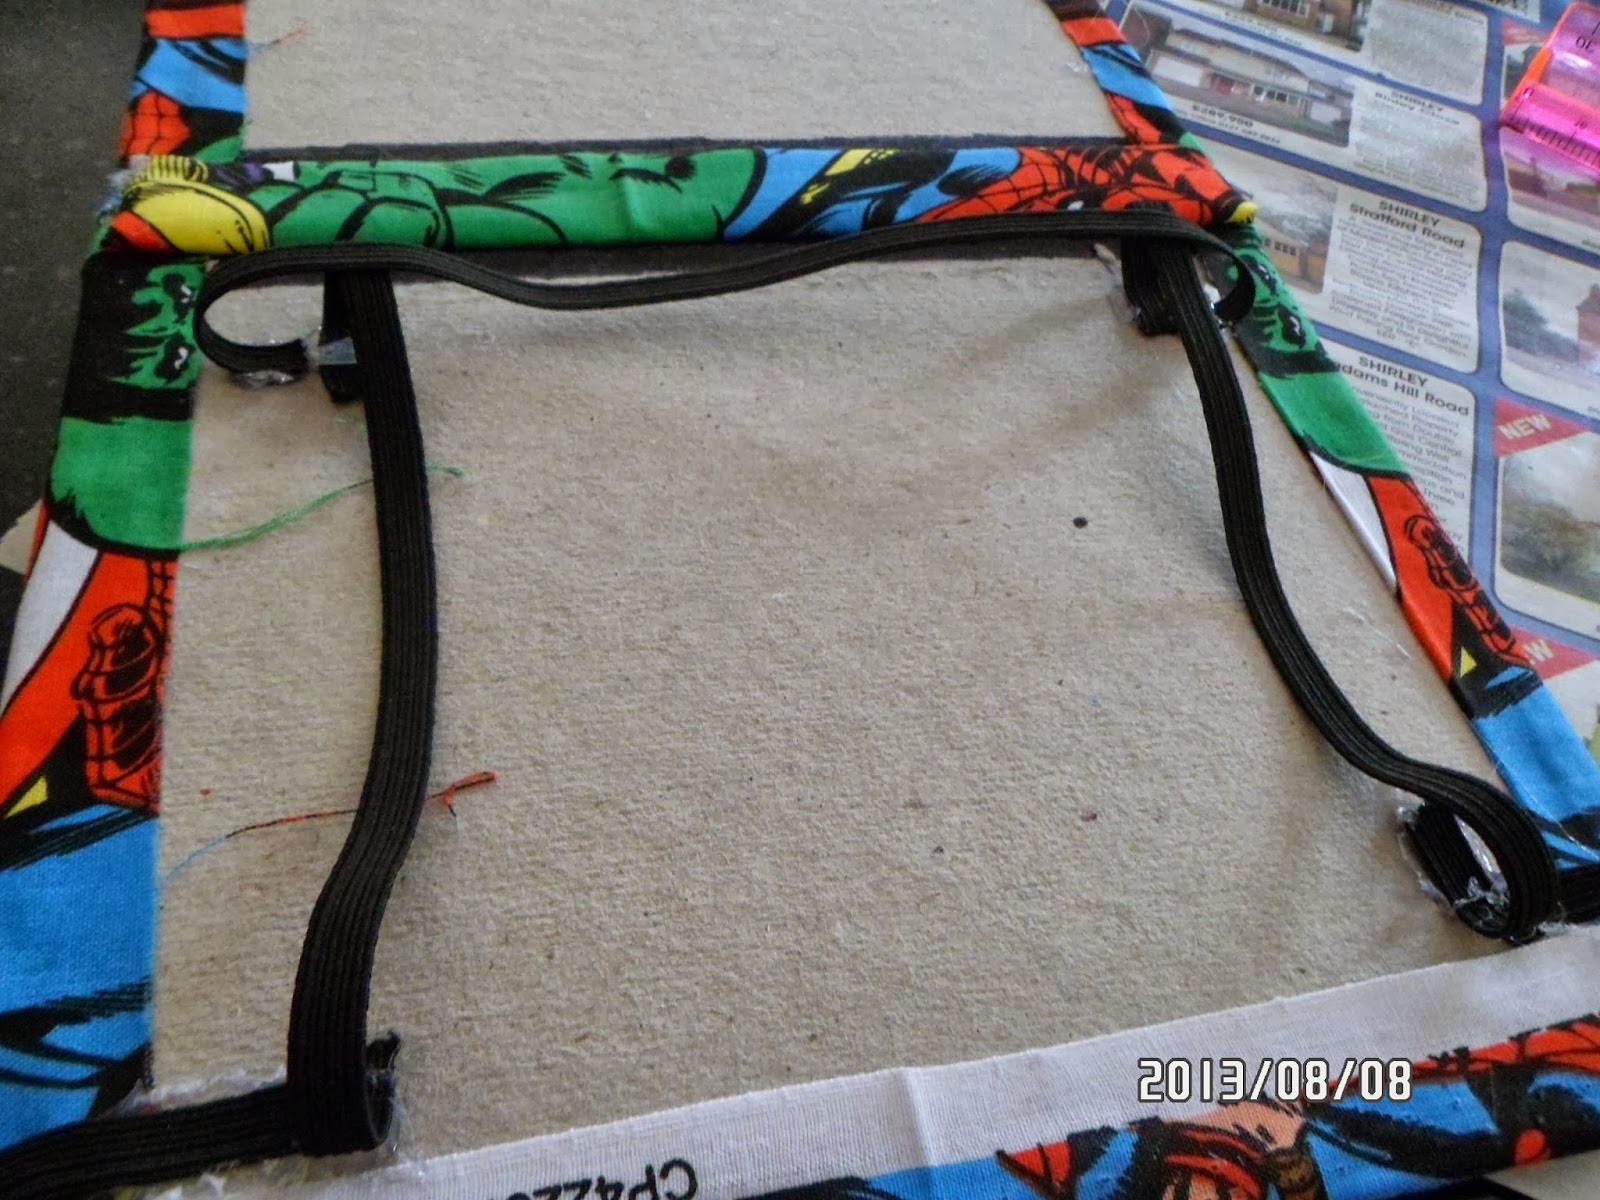
Next you need to repeat this step but with 2 bigger pieces of foam to cover the inside cover or the ereader cover. But don't stick the right one down yet! First you need to add the elastic.
Use hot glue to stick one end down then the other, making sure they are tight enough to hold the ereader in place. Repeat this with four pieces of elastic at the top, bottom left and right. Also add one to keep the 'book' closed, So on on right of the cover so it is able to hook over the other side of the cover when it is closed.
The next stop is quite difficult. Add glue to the cardboard then carefully slip the foam into the elastic and glue down into place. You may have to add some extra glue around the corners.
And that's it!
The finished product-
If you have any questions feel free to comment below and I'll get back to you as soon as I can.